Desktop47-02.jpg

Blog

Designs by Alina Blog: An intimate look at all things design, travel, lifestyle, entertaining, family and motherhood

 
Designs by QAlina de Albergria blog
 

an INTIMATE look at all things design, home, family, motherhood, and travel


Learning about silver

I love Sterling silver because, of all the precious metals, it is the brightest.  Pure silver, or 999 silver is, in fact, 99.9% silver and .1% another metal. It is too soft to produce which is why there is a higher content of metal in silver jewelry, tabletop and home accessories.

You have all seen the 925 stamp, which denotes that the item is fabricated with 92.5% silver and 7.5% of another metal, usually copper. Although the 925 stamp is the most commonly used, there are many stamps worldwide, referred to as a hallmarks, which denote the percentage of silver in the alloy, and not always do they incorporate a number:

The highest standard of silver, Britannia silver, is an alloy composed of 95.8% silver which carries its own hallmark.  A serious collector needs to know what to look for as silver hallmarks have evolved over the centuries and can be quite elaborate.
 

Introducing Argentium


Got to love the Brits for raising the bar on the highest international standard. Twenty four years ago, Peter Johns, a silversmith professor at Middlesex University, decided to do just that, by mixing germanium to the silver. Argentium is 96% silver, barely higher than Britannia silver, but more importantly, germanium thrives on oxygen so it migrates to the surface to chemically bond with it.


The result is a protective coating that is highly tarnish resistant, thus requiring less maintenance than Sterling. In fact, when properly stored, it will remain tarnish free. For the silversmith, it means that there is very little firescale, a layer of oxides that forms on the surface of metal when a blacksmith heats a tool, which is challenging to remove and involves chemicals which can be toxic. I have had to use my share of unpleasant chemicals to remove firescale and have disposed of much silver in the soldering process.


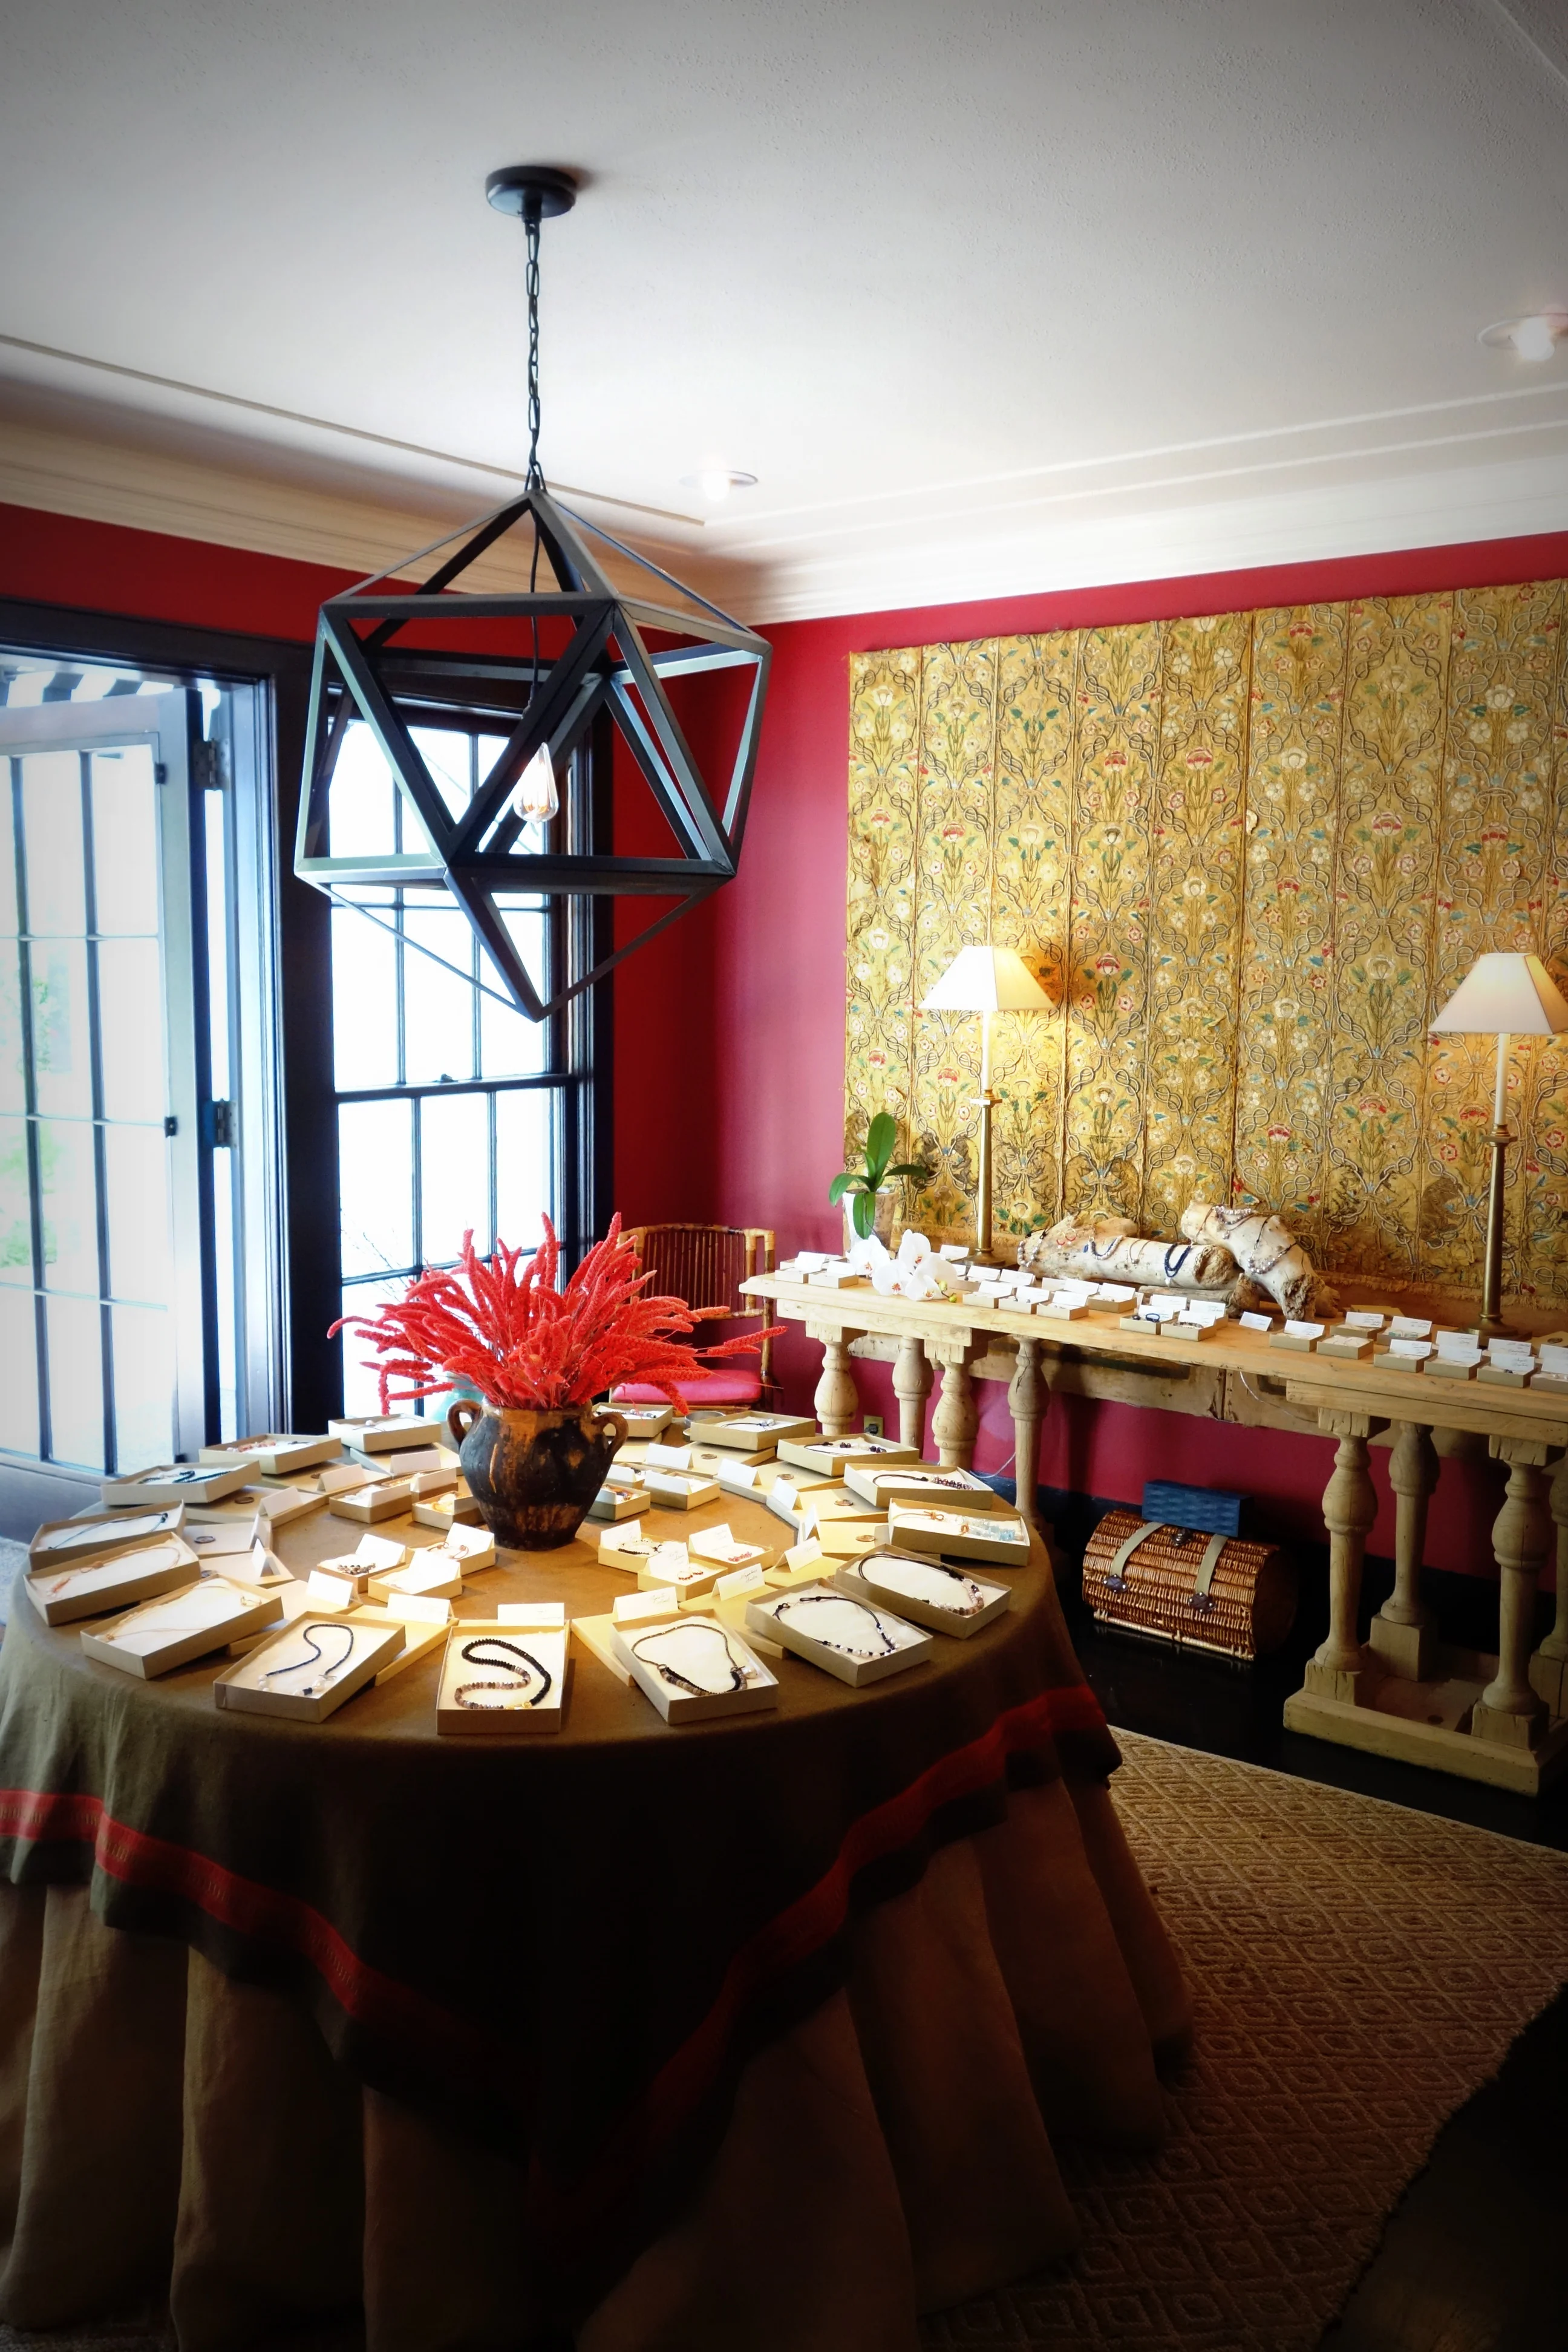
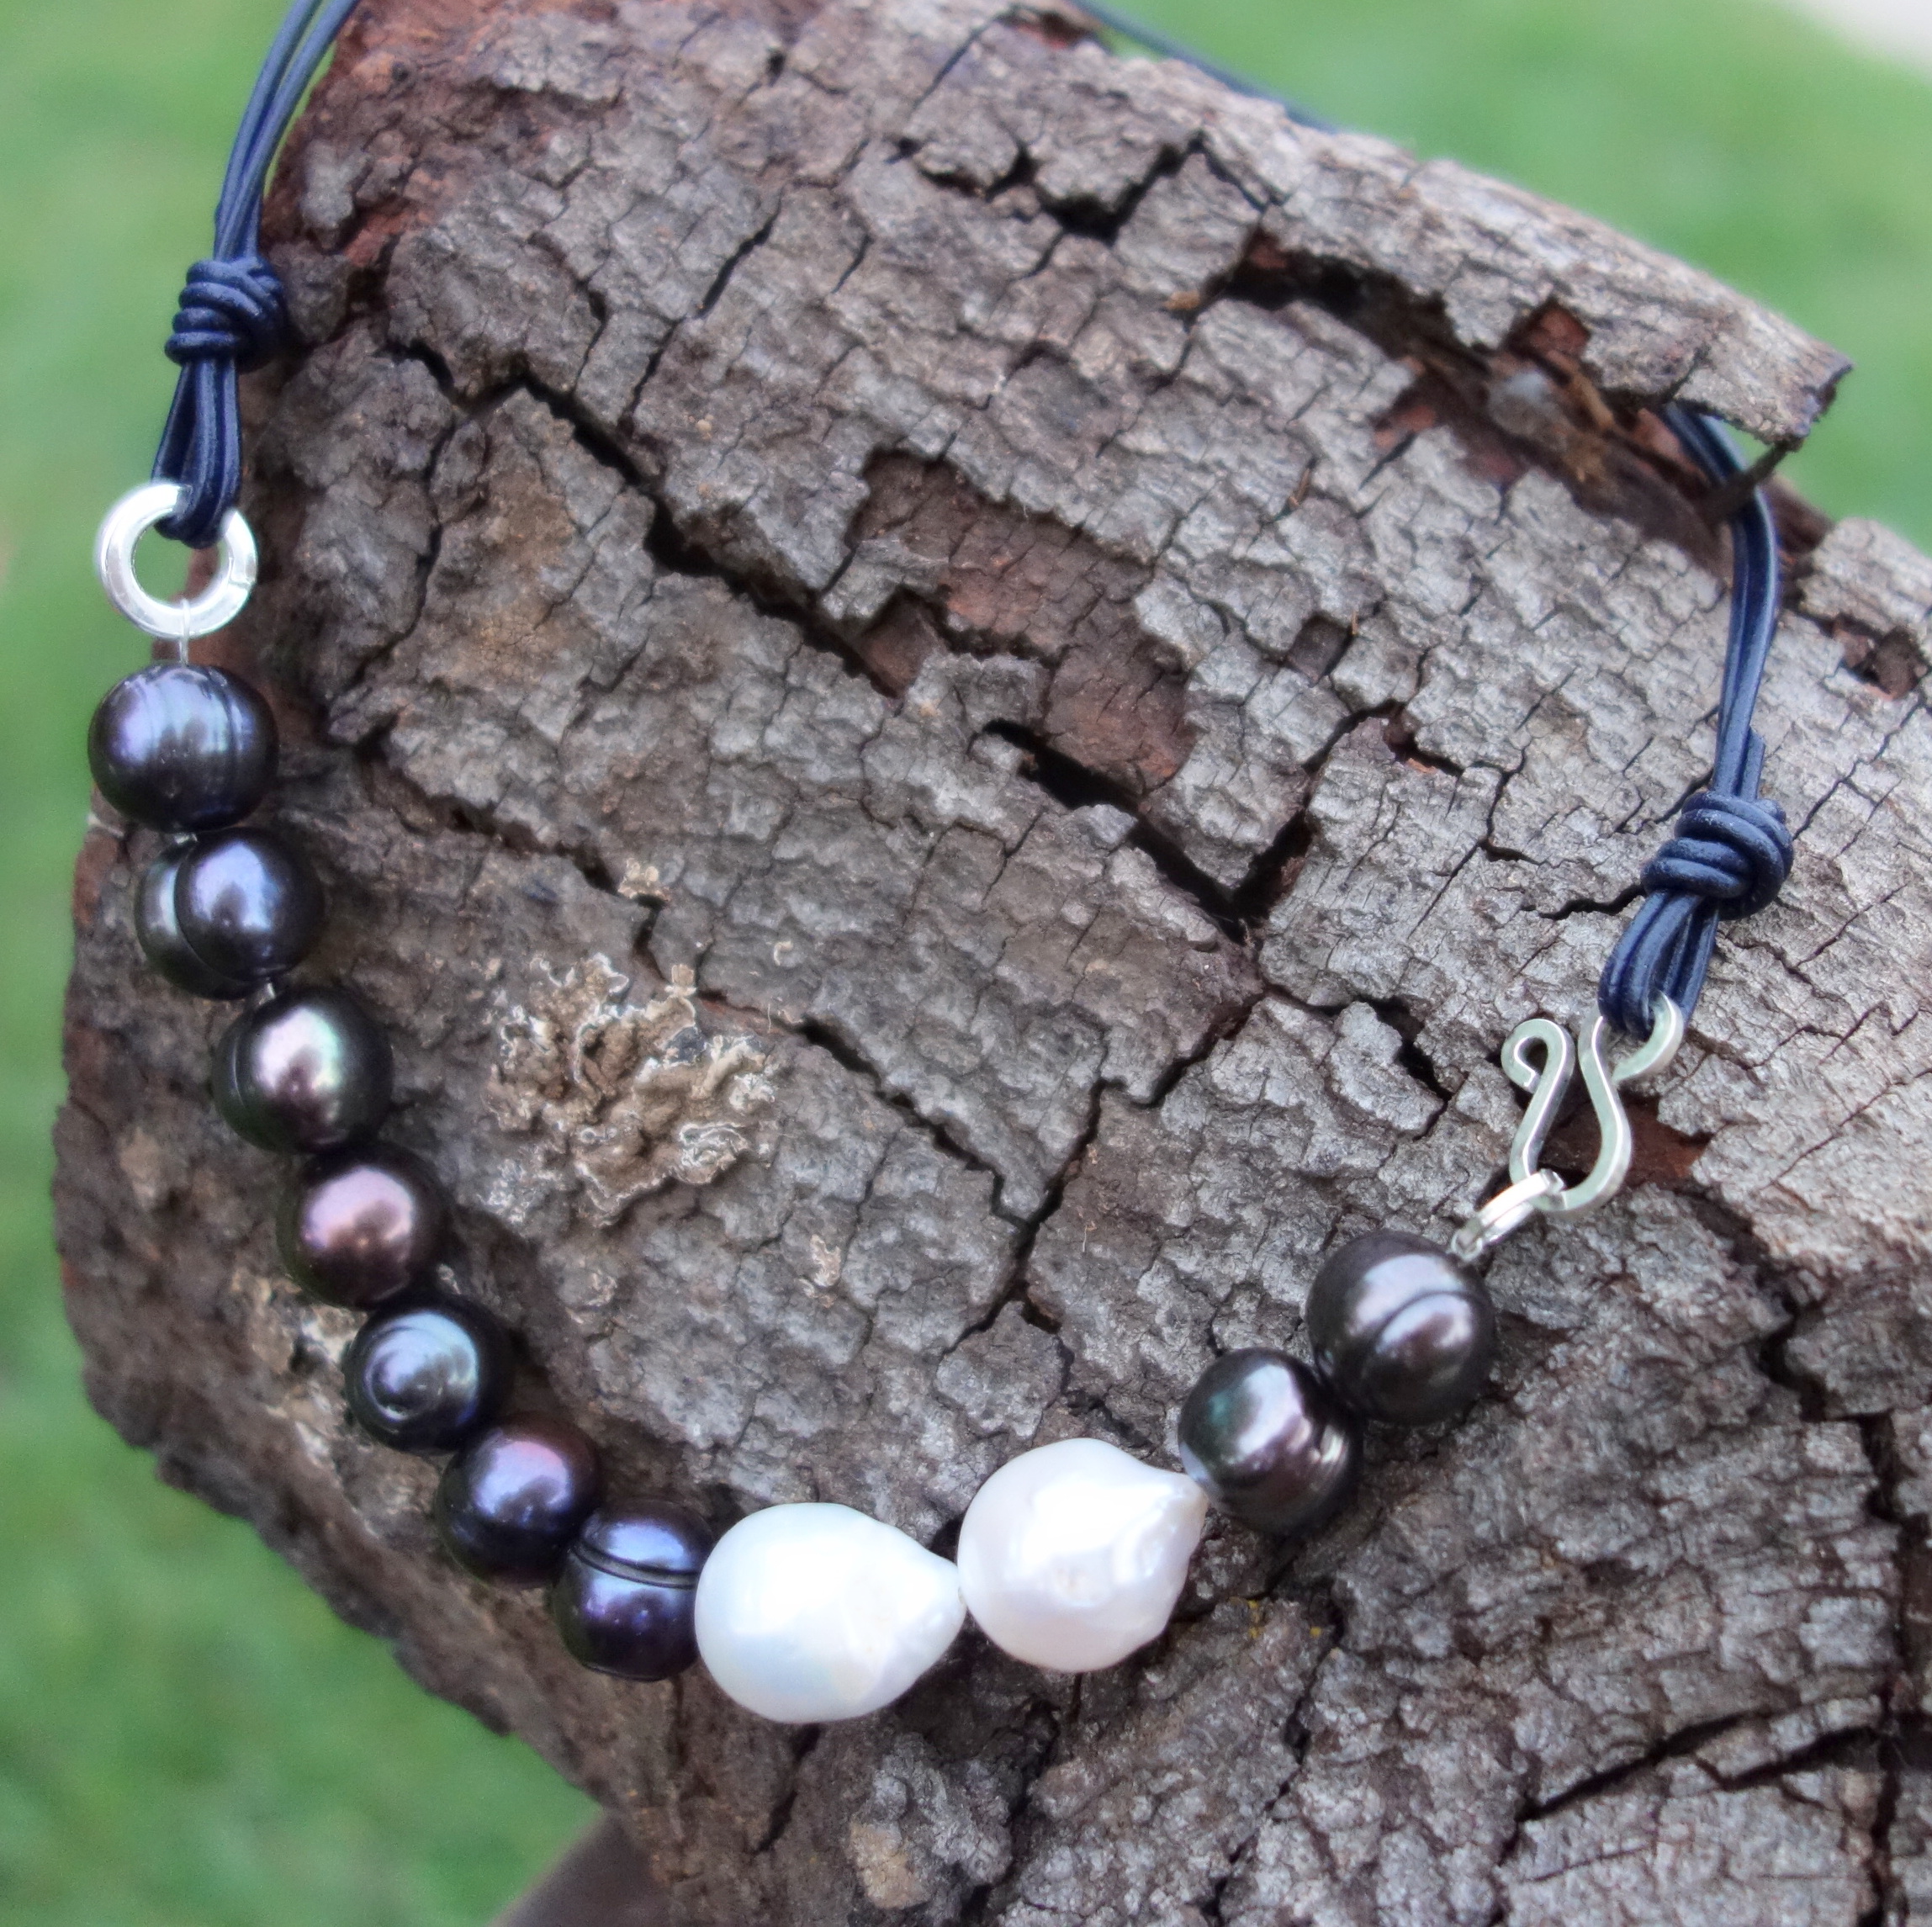
Silver plating or any silver less than 925 is not durable, nor will it have the beautiful bright quality that 925 silver or higher has. In the last decade, Argentium has caught the interest of silversmiths in the US and while it is not common, I have scoured the market to incorporate the most beautiful Argentium clasps in my pieces:

As a side note, I love languages, my husband is from Rome and I studied Italian at UCLA. In Italian, the word for silver is argento, which stems from the latin argentum. And so, I find it interesting that this British discovery is simply called “silver”!


Stay tuned for my next post: “Searching for the Perfect Pearl."


A Launch to Remember

My delicious husband did something crazy a week before the launch: “Let’s take the kids to San Francisco for Easter weekend,” he said enthusiastically to which I balked: “Are you kidding me?” And as stressed out about the launch as I was, I acquiesced in deference to the fact that the children had already endured a mom with a piece of jewelry in her hand “thirteen hours a day” to paraphrase our son, and my husband had been working around the clock, while pursuing his own exciting endeavors, in function of the launch.

The trip to San Francisco was very much needed. It was wonderful to catch up with old friends and new in the city and Marin, as well as watch the children hunt for Easter eggs in our friends' lovely Pacific Heights home. The icing on the cake was when one of my pieces was bought virtually off my neck. Our trio enjoyed themselves so much that we scarcely thought of the work that lie ahead.

The pace back home was insane: we ate on the go, begged other parents to chauffeur our kids (an exaggeration because our community is so awesome there was a surplus of the willing) and infused ourselves with caffeine to keep plowing ahead.  The day of the event, our household was pulled in a million directions: getting the website up and running, hand-cutting and fraying Belgian linen for the jewelry boxes, naming the pieces, setting the table, cutting flowers, purchasing champagne and wine, and I almost forgot to wear a piece of jewelry! 

The chaos morphed into joy as soon as the first few guests arrived, so much so that my web designer/ photographer/ husband extraordinaire stopped taking photos so that we could bask in the joy of the enthusiasm around us, and as much as I wish there were more to document the launch, it was a small price to pay for a magical evening.

I am humbled by the level of excitement you all exhibited at the unveiling of Designs by Alina, thank you! 

DIY Juju Hat
The juju hat's first wall in 2012

The juju hat's first wall in 2012

They say that the apple doesn’t fall far from the tree and if you subscribe to our lifestyle newsletter, you already know that one of those “trees" is my mother. Equally inspiring is my beloved uncle, who carried a sketchbook wherever he went because “you should never miss an opportunity to cultivate your passion”. I lived with him and his family the summer we moved to Venezuela, spending most of my time in his atelier with my cousins making clothes for our dolls and dresses for ourselves. Flash forward a few decades and my own daughters find joy in creating beautiful things for us, their friends and their room.

IMG_8675.JPG

While visiting Harbour Island, I spotted what I later discovered to be a juju hat, sometimes referred to as a Cameroon hat, and immediately knew that a brighter, more playful version would be perfect in our daughters' bedroom. We were in the midst of renovating our home when I embarked on a mission to secure two perfect fuchsia juju hats for the girls. However, at $600 each, I decided instead to fabricate a pair with my daughters, a feat that proved to be remarkably easy and a ton of fun. In the end, for about $200, my crafty girls and I made a pair of hats that would make my mother and uncle proud. 

This is what you will need for one 16" diameter hat*

  • 2.5 yards of 4-5" long strung feathers. 
  • Glue gun
  • Tons of glue sticks
  • Scissors
  • Thin cardboard or plastic mesh circle (like this one from Walmart) and heavyweight paper like watercolor paper.

* A 16" hat requires two yards of 4-5 inch feathers and a 10 inch template.. A 20 inch hat requires 3 yards of 4-5" feathers and a 12 inch template. A 24 inch hat requires 4.5 yards of 5-6" feathers and a 15" template.

I opted for the paper and mesh vs. the cardboard because I liked the sturdiness of them together and the holes in the mash makes it easier to hang on the wall and store. 

Cut the cardboard (or watercolor paper) into a circle according to the size guide above. A dinner plate will work fine as a template. If using the mesh and paper, glue them together first.

Simply begin to glue the strung part of the feathers onto the outer edge of the paper circle with the curve of the feathers facing up. The next row, which will be a bit smaller as you continue the concentric pattern towards the middle of the mesh, should be glued with the feathers curving downward. Continue this alternating pattern until you reach the center to create lots of volume. Save bits of feathers to glue at the very center and anywhere else needed to make certain your juju hat is fluffy and full. You will likely end up with five to nine rows of feathers depending on the size you choose. The fuller the better so go heavy!

That's it! A simple, beautiful, and satisfying bonding experience that will yield an eye catching piece of wall art for years to come. 

20" juju hat in our new home, July, 2018

20" juju hat in our new home, July, 2018

This post was updated in July, 2018 to illustrate how three houses and four years later, these hats are still as gorgeous as ever.

Enjoy the experience which is as fun as the long lasting result.


Magazine Worthy Decorating Idea

When Bernardo and I searched for a new home in the lush, historical area of Santa Barbara's Upper East neighborhood, we knew we were in luck when we came upon a 1931 Mediterranean, designed by Carlton Winslow (Carlton Theater, Los Angeles; Cottage Hospital, Santa Barbara; Casa Dorinda, Montecito) which was in much need of repair. We immediately enlisted the help of our good friend Alessandra Branca, a genius at modernizing classics, who exudes the sort of joie de vivre with which everyone would like to be infused.

The design part was fantastically fun but living though the remodel was an arduous task. With three small children in a new school, a husband who traveled the world over, dwindling funds, and a house full of ram board, noise, dust and workmen, I was about to lose my mind, and I needed among other things, to adhere to a budget. So the million dollar question was: "Where do I streamline expenses now that we are in the detail phase?" I wasn't about to abandon the fruit trees or rose garden, nor would I sacrifice the quality of the furniture or fabrics, so I drew the line at the hand-painted stairs I had just designed.

Hours of brainstorming later, I came across two sources of sheer magic: Dezign with a Z, and Wall Written, both online sources of custom artwork which gave our staircase and door leading to the garage the kiss of modern I sought without breaking the bank. The result is an infusion of playfulness which accentuates who we are and what we espouse.

Stylish or Safe?

Just as I am passionate about jewelry, I am passionate about our home. My husband and I are neither collectors nor minimalists, and while we like clean lines, we have opted for a contemporary classic style, one which tells a story about where we have been and where we are headed. 

That said, if we were to ever entertain the idea of introducing a collection of sorts, it would likely incorporate the concept of bringing together the perfect and the imperfect (there I go again with the “p” word).

While visiting my brother in Barcelona, our family went to a restaurant called Origens which serves ecologically friendly Catalan food. The décor was basic, the atmosphere casual, and if it weren't for a detail that caught my eye, you would not be reading this post.

While there was nothing remarkable about the bottles themselves, I think the Origins design team did a great job with what could have otherwise been just another bottle collection.

Below are a couple of examples of how I like to weave the "odd one out" concept into some of my designs.