


The juju hat's first wall in 2012
They say that the apple doesn’t fall far from the tree and if you subscribe to our lifestyle newsletter, you already know that one of those “trees" is my mother. Equally inspiring is my beloved uncle, who carried a sketchbook wherever he went because “you should never miss an opportunity to cultivate your passion”. I lived with him and his family the summer we moved to Venezuela, spending most of my time in his atelier with my cousins making clothes for our dolls and dresses for ourselves. Flash forward a few decades and my own daughters find joy in creating beautiful things for us, their friends and their room.

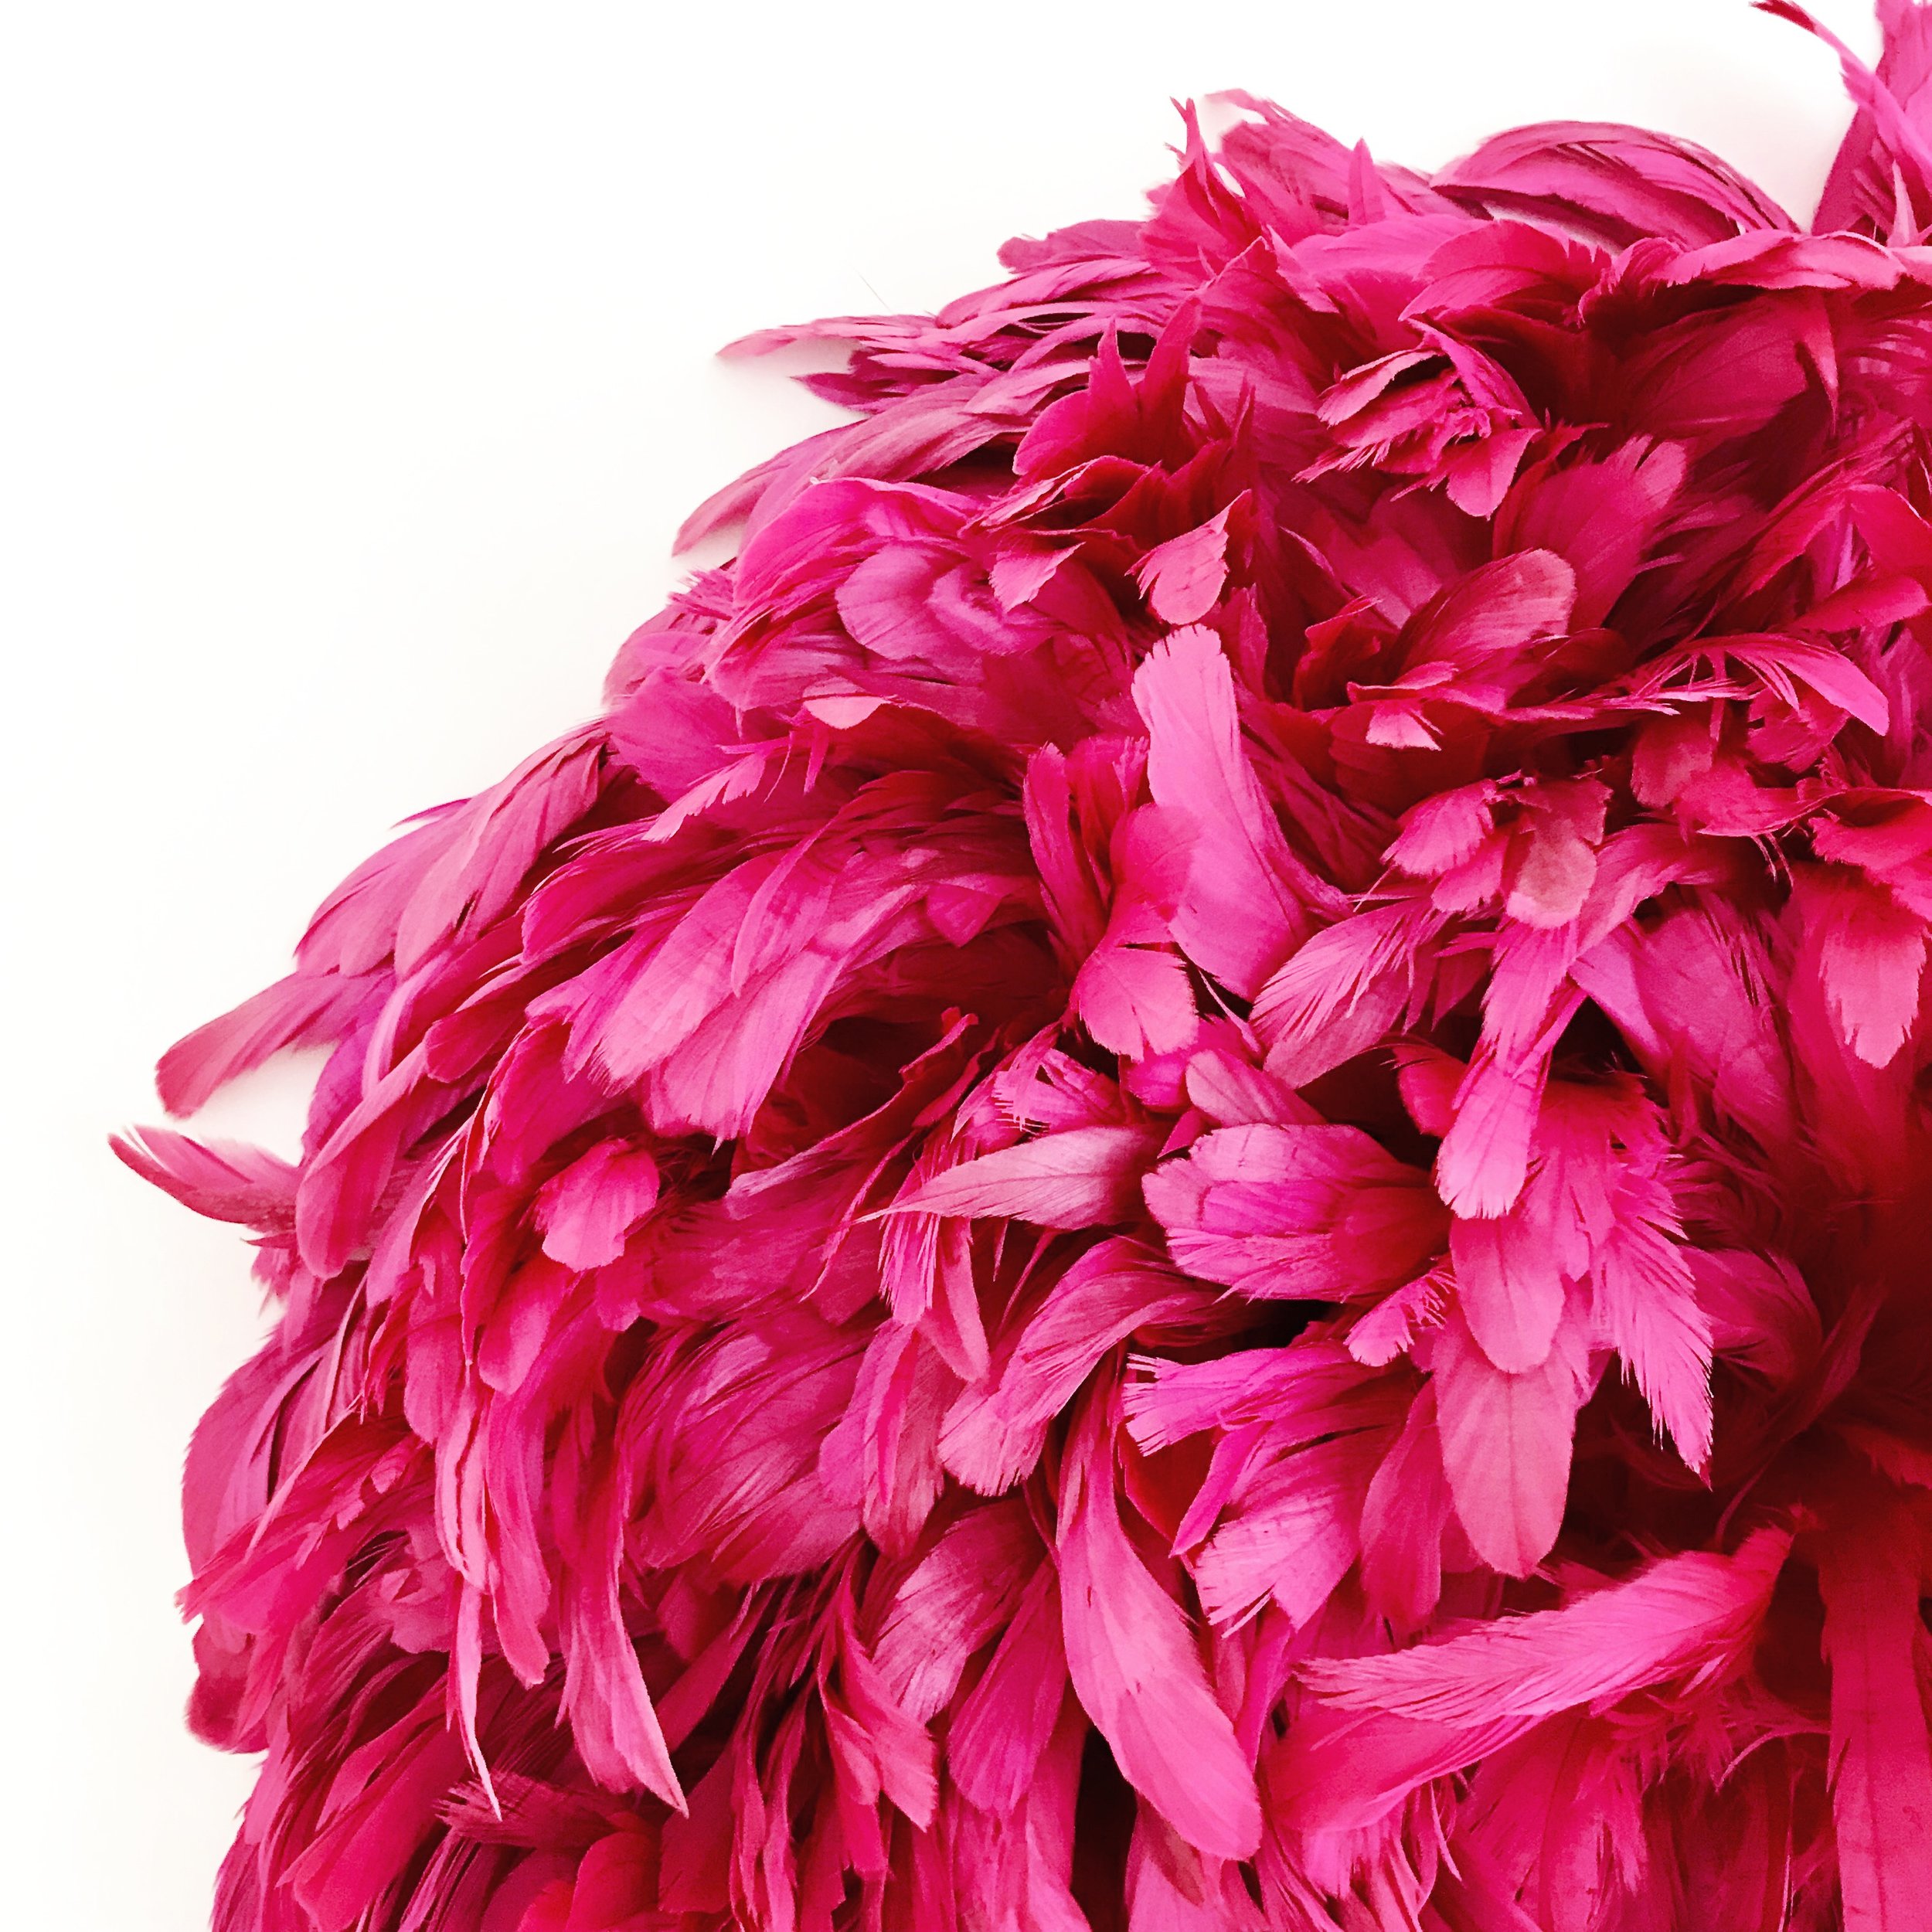
While visiting Harbour Island, I spotted what I later discovered to be a juju hat, sometimes referred to as a Cameroon hat, and immediately knew that a brighter, more playful version would be perfect in our daughters' bedroom. We were in the midst of renovating our home when I embarked on a mission to secure two perfect fuchsia juju hats for the girls. However, at $600 each, I decided instead to fabricate a pair with my daughters, a feat that proved to be remarkably easy and a ton of fun. In the end, for about $200, my crafty girls and I made a pair of hats that would make my mother and uncle proud.

This is what you will need for one 16" diameter hat*
- 2.5 yards of 4-5" long strung feathers.
- Glue gun
- Tons of glue sticks
- Scissors
- Thin cardboard or plastic mesh circle (like this one from Walmart) and heavyweight paper like watercolor paper.
* A 16" hat requires two yards of 4-5 inch feathers and a 10 inch template.. A 20 inch hat requires 3 yards of 4-5" feathers and a 12 inch template. A 24 inch hat requires 4.5 yards of 5-6" feathers and a 15" template.
I opted for the paper and mesh vs. the cardboard because I liked the sturdiness of them together and the holes in the mash makes it easier to hang on the wall and store.
Cut the cardboard (or watercolor paper) into a circle according to the size guide above. A dinner plate will work fine as a template. If using the mesh and paper, glue them together first.
Simply begin to glue the strung part of the feathers onto the outer edge of the paper circle with the curve of the feathers facing up. The next row, which will be a bit smaller as you continue the concentric pattern towards the middle of the mesh, should be glued with the feathers curving downward. Continue this alternating pattern until you reach the center to create lots of volume. Save bits of feathers to glue at the very center and anywhere else needed to make certain your juju hat is fluffy and full. You will likely end up with five to nine rows of feathers depending on the size you choose. The fuller the better so go heavy!

That's it! A simple, beautiful, and satisfying bonding experience that will yield an eye catching piece of wall art for years to come.

20" juju hat in our new home, July, 2018
This post was updated in July, 2018 to illustrate how three houses and four years later, these hats are still as gorgeous as ever.
Enjoy the experience which is as fun as the long lasting result.